After you create a checklist you may need to change its name. Keep in mind that that name will change in every location that this checklist is used for. This tutorial applies to the following modules:
- Facilities & Buildings
- Fire/Code Enforcement
- Parks & Playgrounds
- Permits & Construction
- Roads & Highways
- Sportfields & Tracks
- Work Orders
- Workplace Safety
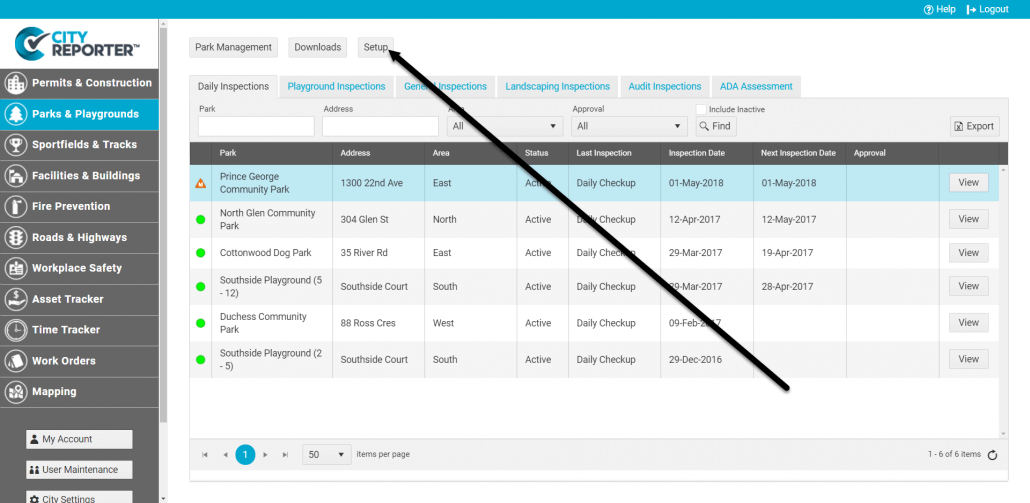
1. Using your computer, log into CityReporter web with your city code, username, and password. Select a module and click the Setup button at the top of the screen, as shown. You must have Administrator permissions to access the Setup button.
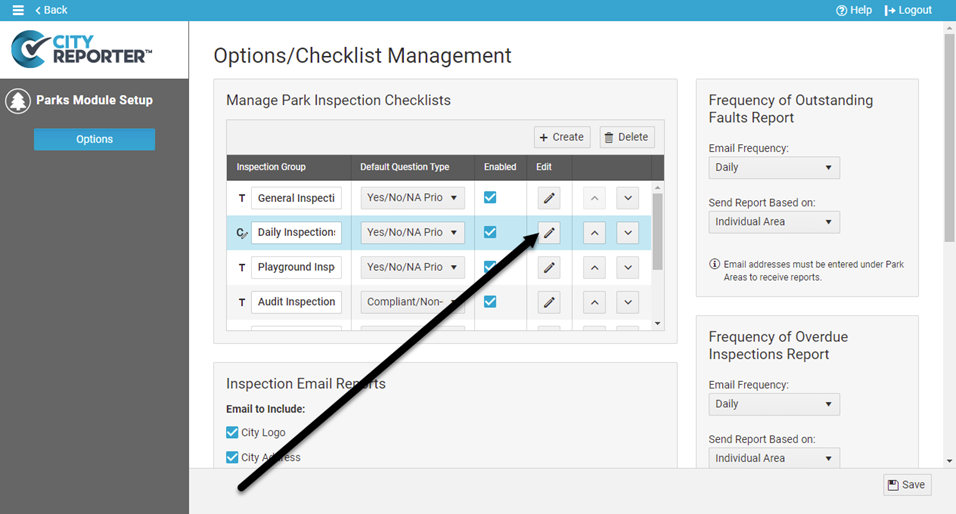
2. Once in the Checklist Management screen, find the Inspection Group where your checklist is located and click Edit.
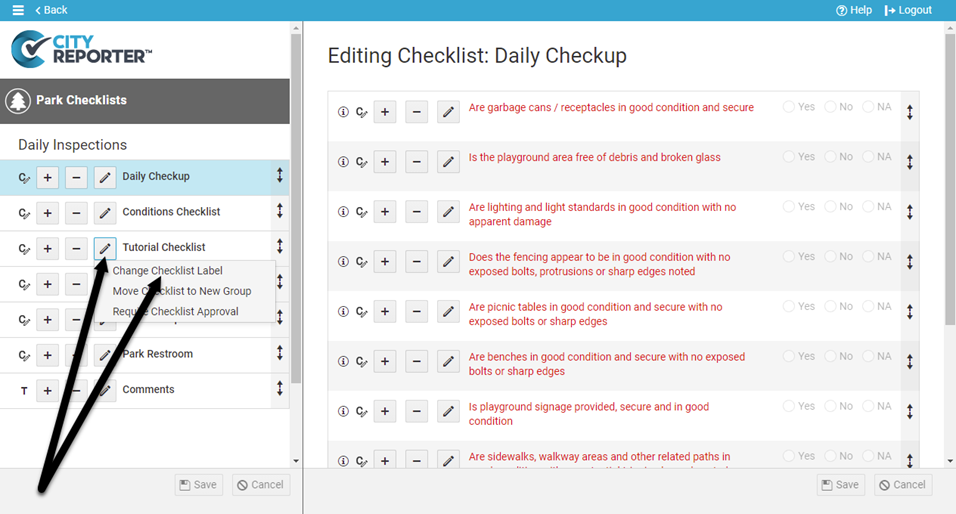
3. In the checklist manager, click the Pencil button for the checklist you would like to change. In the popup menu, click on “Change Checklist Label”.
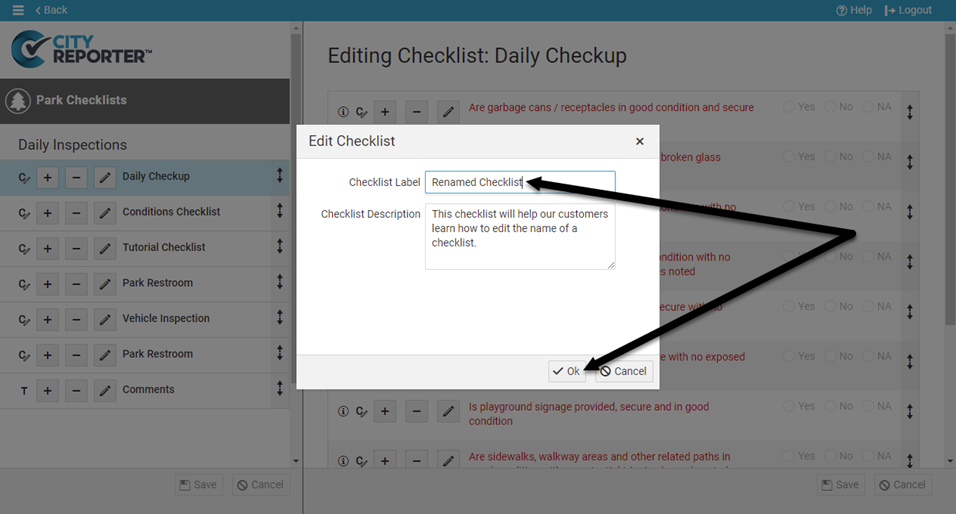
4. You can then make changes to the checklist label and description. Once you are finished, click Ok.
5. To keep your changes, click the Save button at the bottom left.
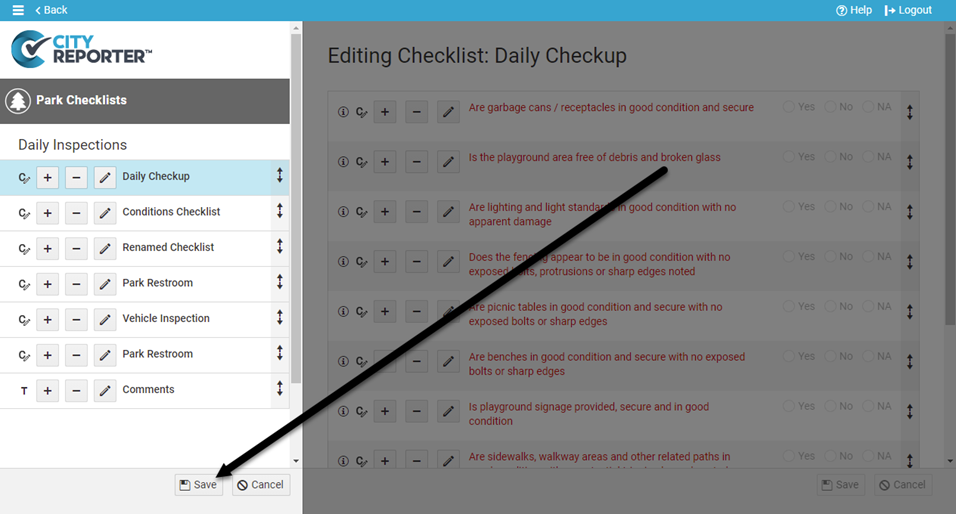
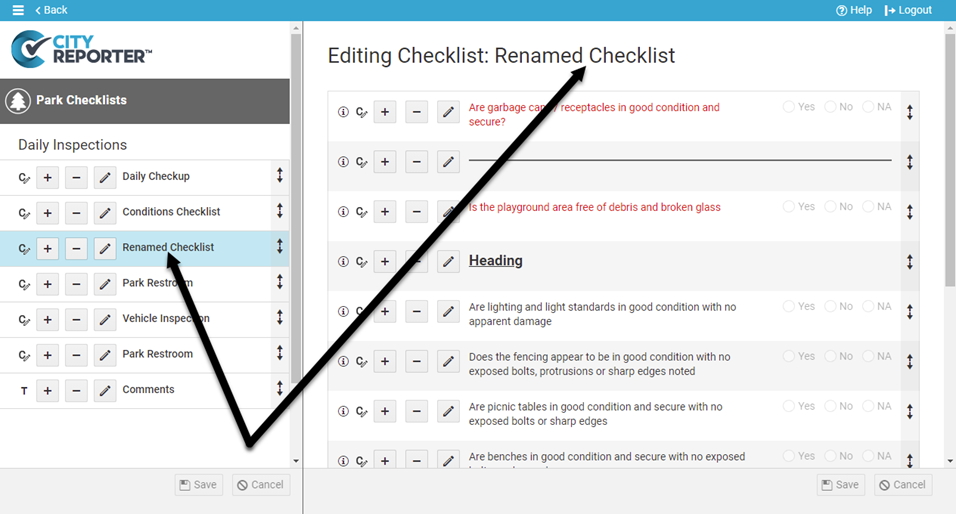
6. You will now see your checklist has been renamed. Do a Refresh in the mobile app to see the change on your mobile device.