

CityReporter provides the option for users to create custom checklists based on their individual needs. If you need help creating custom questions, check out our tutorial on How To Add Custom Questions. This tutorial applies to the following modules:
- Facilities & Buildings
- Fire/Code Enforcement
- Parks & Playgrounds
- Permits & Construction
- Roads & Highways
- Sportfields & Tracks
- Workplace Safety
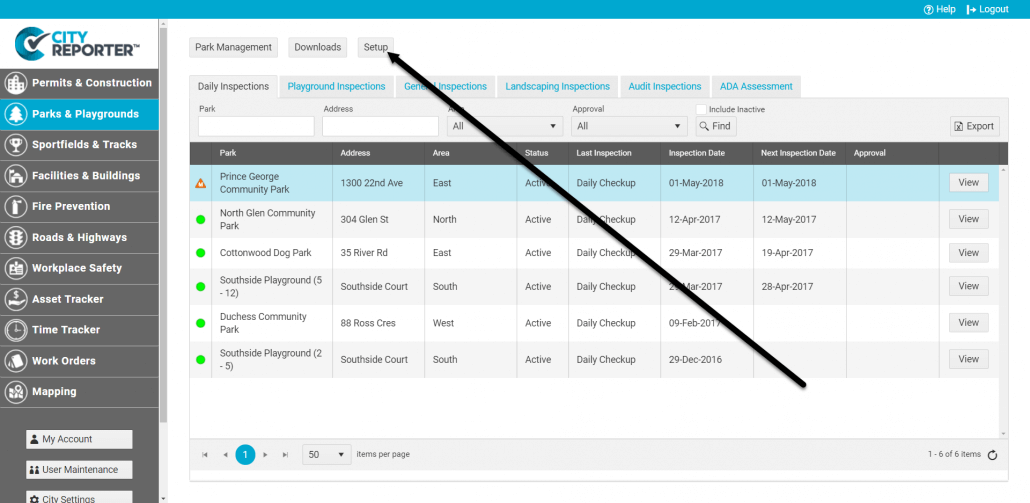
1. Using your computer, log into CityReporter web with your city code, username, and password. Select a module and click the Setup button at the top of the screen, as shown. You must have Administrator permissions to access the Setup button.
2. On the Checklist Management screen, find the appropriate Inspection Group for your checklist and click the Edit button.
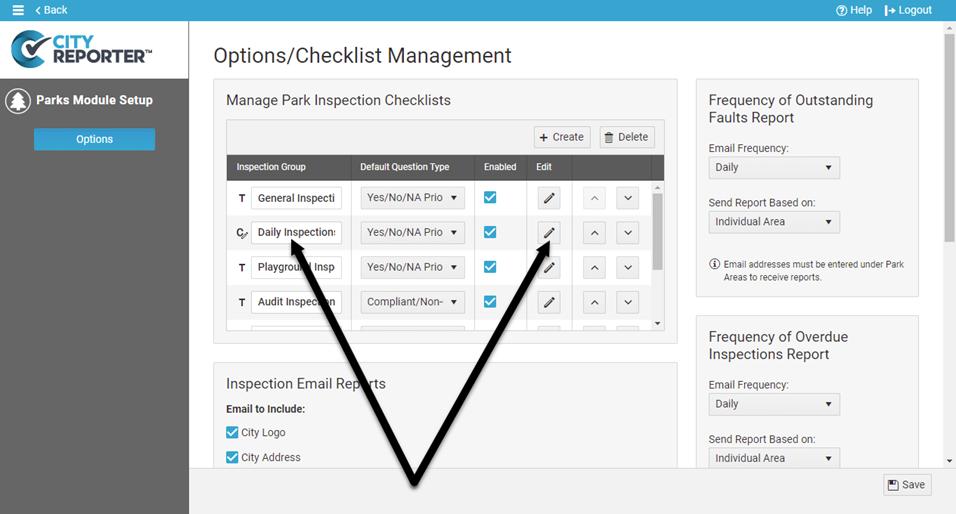
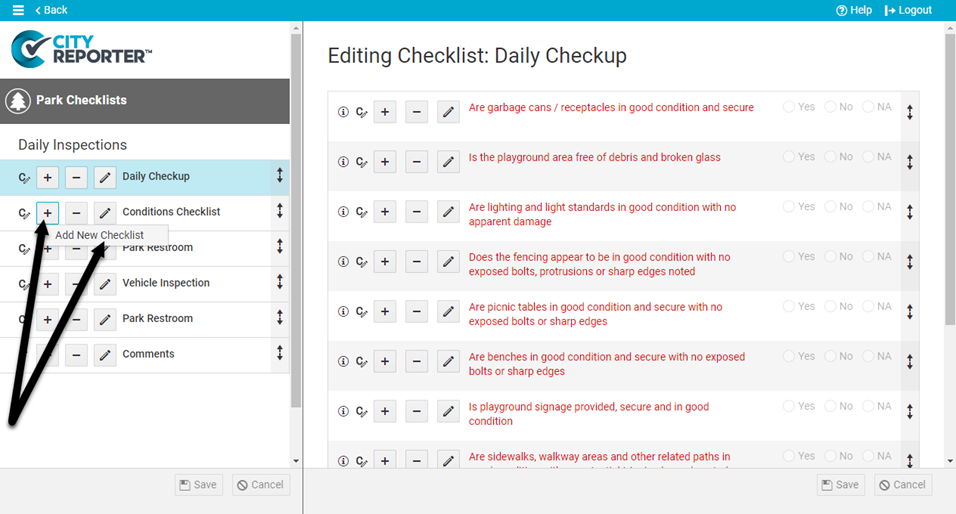
3. In the Checklist Manager, click the Plus button next to a checklist and select the option Add New Checklist. The new checklist will be inserted below where you clicked Plus.
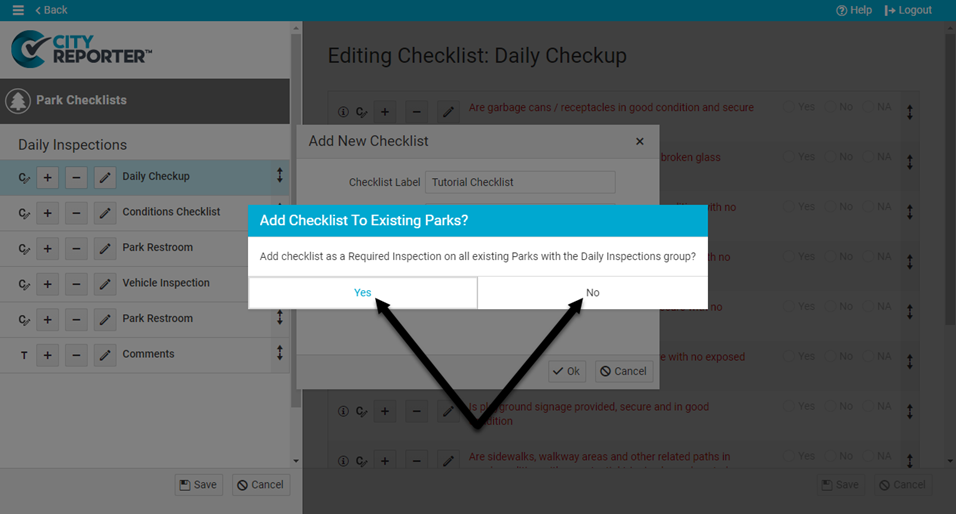
4. Enter a name for the checklist and enter an optional description. Click OK.

5. If you would like this checklist to be added to all existing locations with the current inspection group, select Yes. If this checklist doesn’t apply to all your locations, you can select No and then apply it manually to any location later on (see our tutorial on How To Edit a Location’s Required Inspections In CityReporter Web).
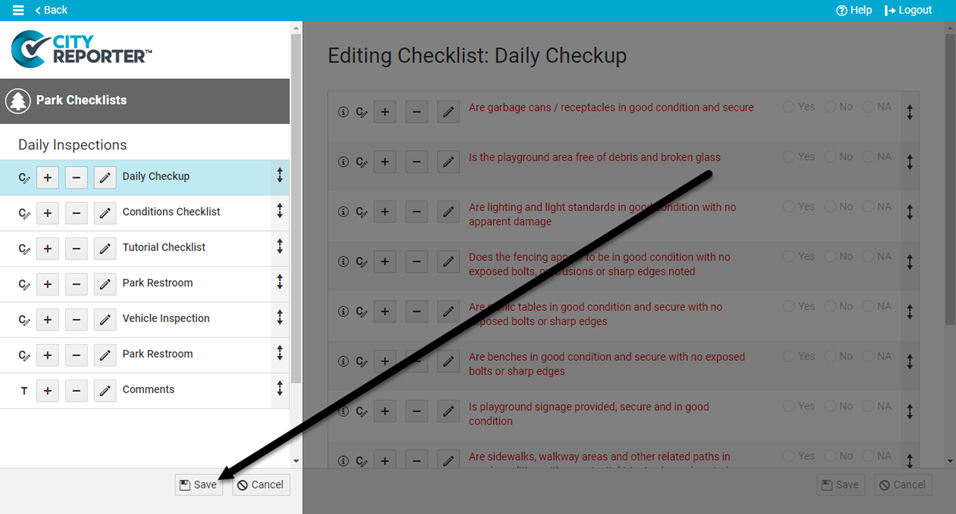
6. The new checklist will be marked with a C icon indicating that it’s a custom checklist. Template checklists built into the software are marked with a T icon. Save by clicking the Save button at the bottom left of the screen. You will not be able to edit your checklist until it is saved.
7. Once saved, you can then add questions to your checklist. Check out our tutorial on How To Add Custom Questions for more information.