Organizing your checklists into categories or groups can make it easier to conduct efficient inspections. We’ve already started the process for you in several modules. For example, in the Parks & Playgrounds module the built-in checklists are organized into groups such as General Inspections and Playground Inspections.
Other modules have checklists organized into different groups. For example, the Facilities & Buildings module has checklists organized into General Inspections, Arena Inspections, and Aquatic Inspections. This tutorial applies to the following modules:
- Facilities & Buildings
- Fire/Code Enforcement
- Parks & Playgrounds
- Roads & Highways
- Sportfields & Tracks
- Workplace Safety
1. Using your computer, log into CityReporter web with your city code, username, and password. Select a module and click the Setup button at the top of the screen, as shown. You must have Administrator permissions for the module in order to access the Setup button.

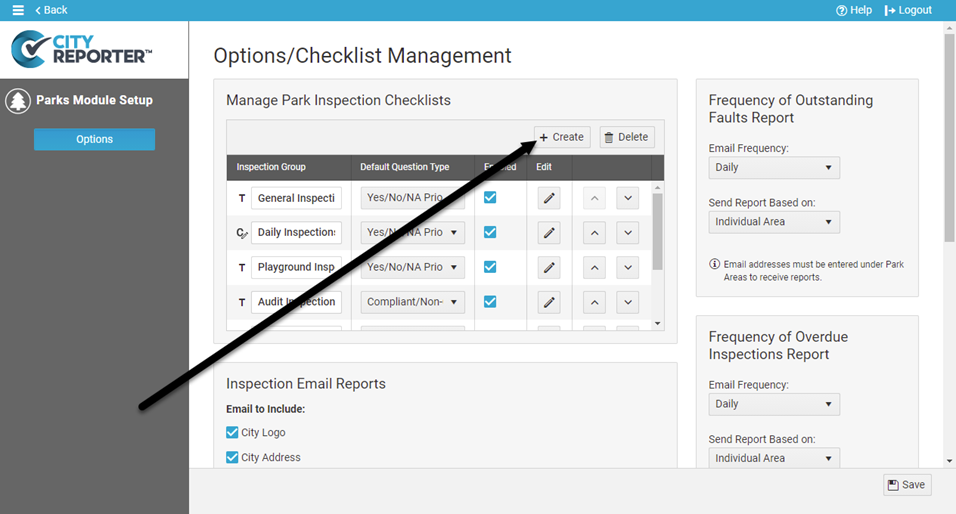
2. Inspection groups are listed within the Manage Inspection Checklists box. Template groups built into the software are indicated with a T icon, while custom groups are indicated with a C icon. Template groups cannot be deleted or renamed, but can be disabled if you don’t want to use them. Click the Create button to create a new group in which to organize your checklists.
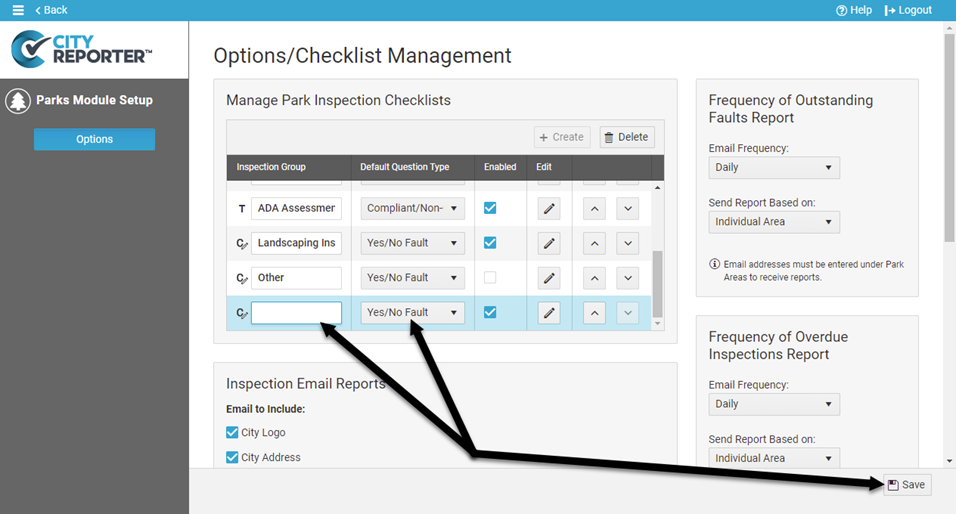
3. Enter the name for your new group and choose a default question type, then click the Save button.
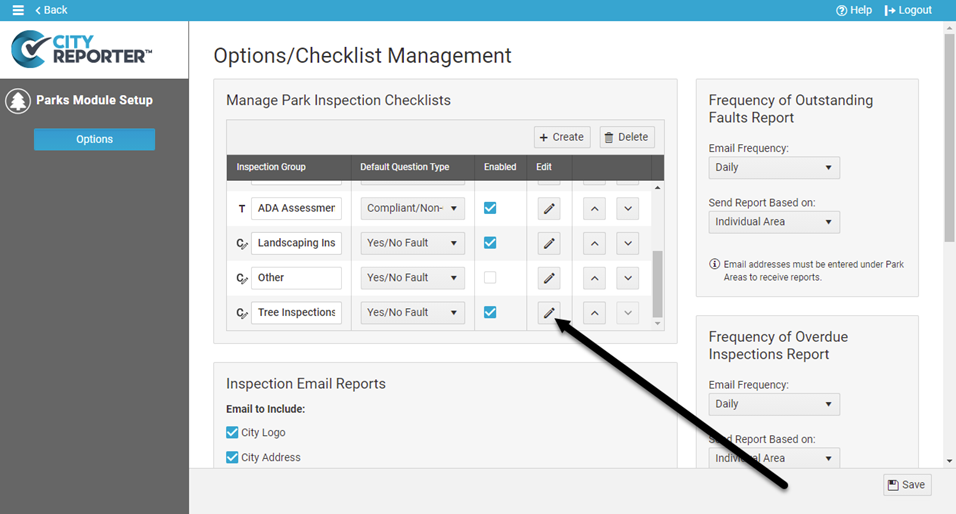
4. Now that you have a new group in which to organize your checklists… it’s time to create some new checklists to fill it up! Simply click the Edit button beside your new inspection group to begin creating new checklists. See the tutorial How To Create Custom Checklists for more information.
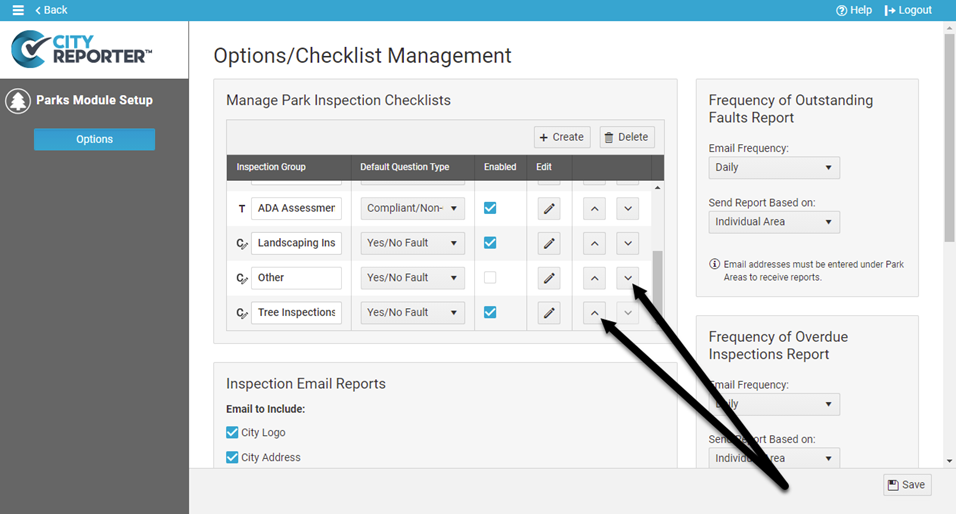
5. You can change the order in which your checklist groups are displayed by using the arrow buttons to move the group up or down.
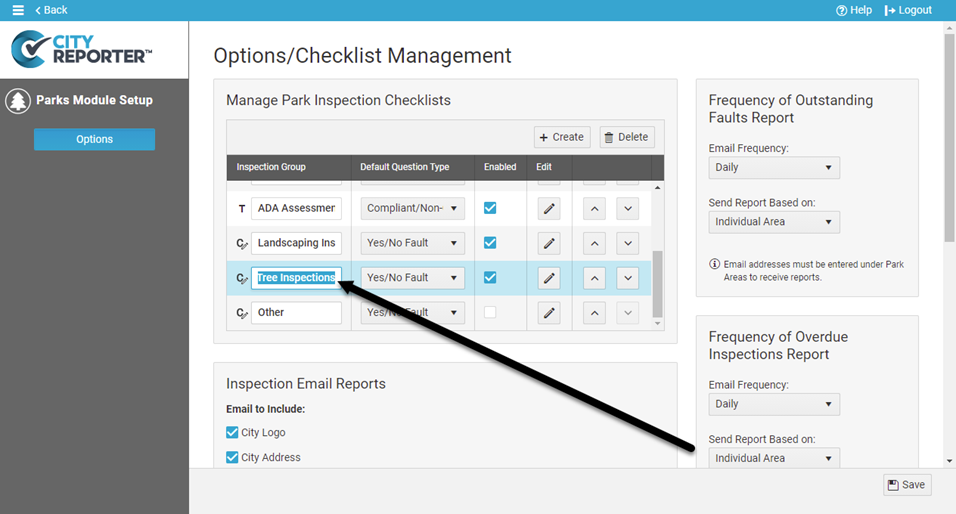
6. You can edit the name of a custom group by simply clicking on the name.
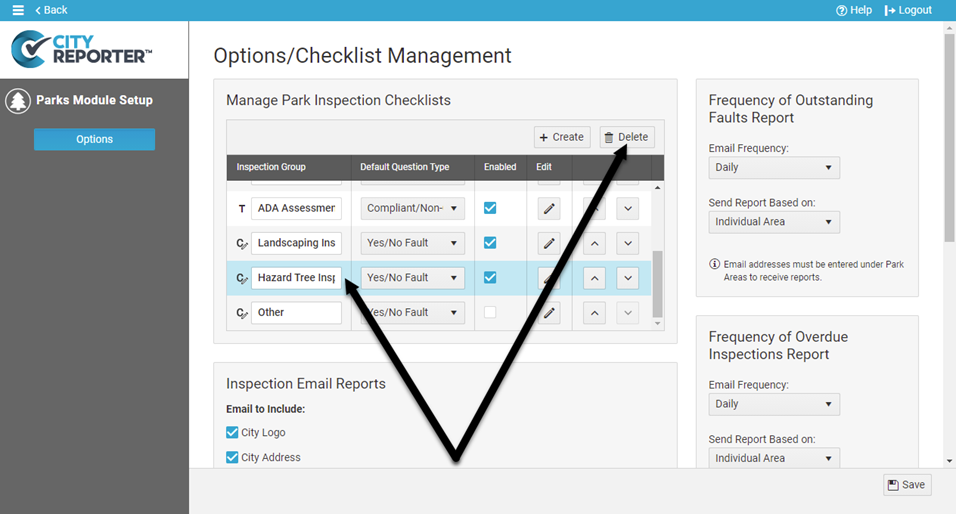
7. You can delete a custom group that you created by clicking on the group’s row in the table and then clicking the Delete button.
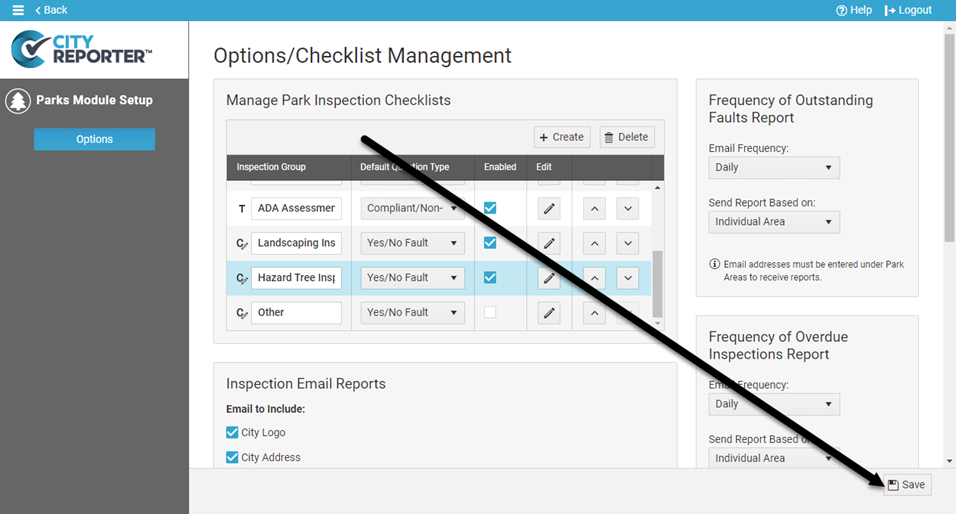
8. Once you are finished managing your inspection groups, save your changes by clicking the Save button at the bottom of the screen.